
Introduction
Set up QR code ordering — it may sound technical, but most restaurants can be live in about 30 minutes without buying new hardware, building a website, or asking guests to download an app. This guide walks you through the complete process from creating your account to taking your first order.
This is Part 3 of our QR Code Ordering Series. In Part 1 we covered where to place QR codes, and in Part 2 we shared best practices to maximize conversions.
Why QR Code Ordering Works for Restaurants
QR code ordering removes the biggest bottlenecks in a busy dining room by letting guests browse, order and pay from their own phones. Instead of waiting to flag down a server, customers scan a code, see your full menu with photos and modifiers, and send their order straight to the kitchen. This shortens table turn times, reduces order errors, and frees your staff to focus on hospitality rather than repetitive order taking.
Because the system runs entirely in the browser, there is nothing for guests to download and nothing new for your team to learn. It works alongside your existing POS, so you keep one source of truth for menu items and pricing. For restaurants weighing the switch, QR code ordering typically pays for itself quickly through higher average check sizes, faster turns, and fewer walkouts during peak hours. Most owners find the transition surprisingly smooth, and guests appreciate the speed and control of ordering at their own pace.
Key Takeaways
- Setup takes about 30 minutes.
- Import menus from Clover, Square or MicroSale.
- No app, hardware or website required.
- Brand the ordering portal with your logo and colors.
- Offer dine-in, pickup and delivery ordering.
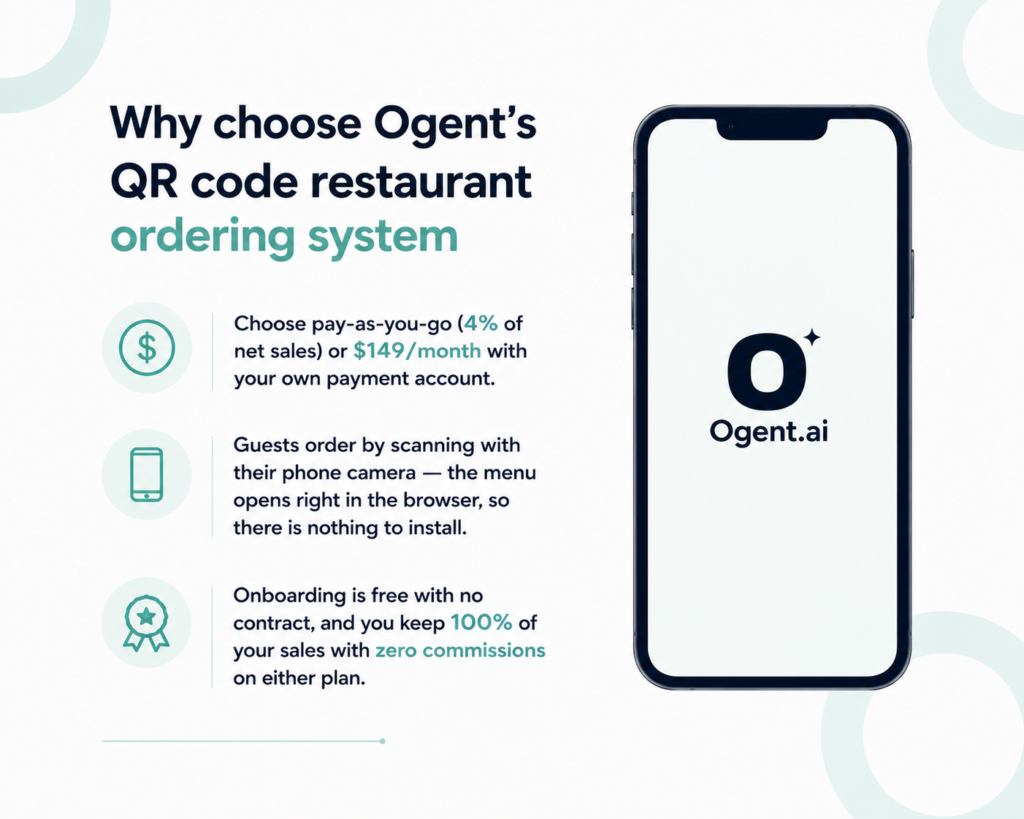
- Choose pay-as-you-go (4% of net sales) or $149/month with your own payment account.
What You’ll Need
- Your menu or POS login
- Restaurant logo
- Payment preference
- Decide where QR codes will be displayed.
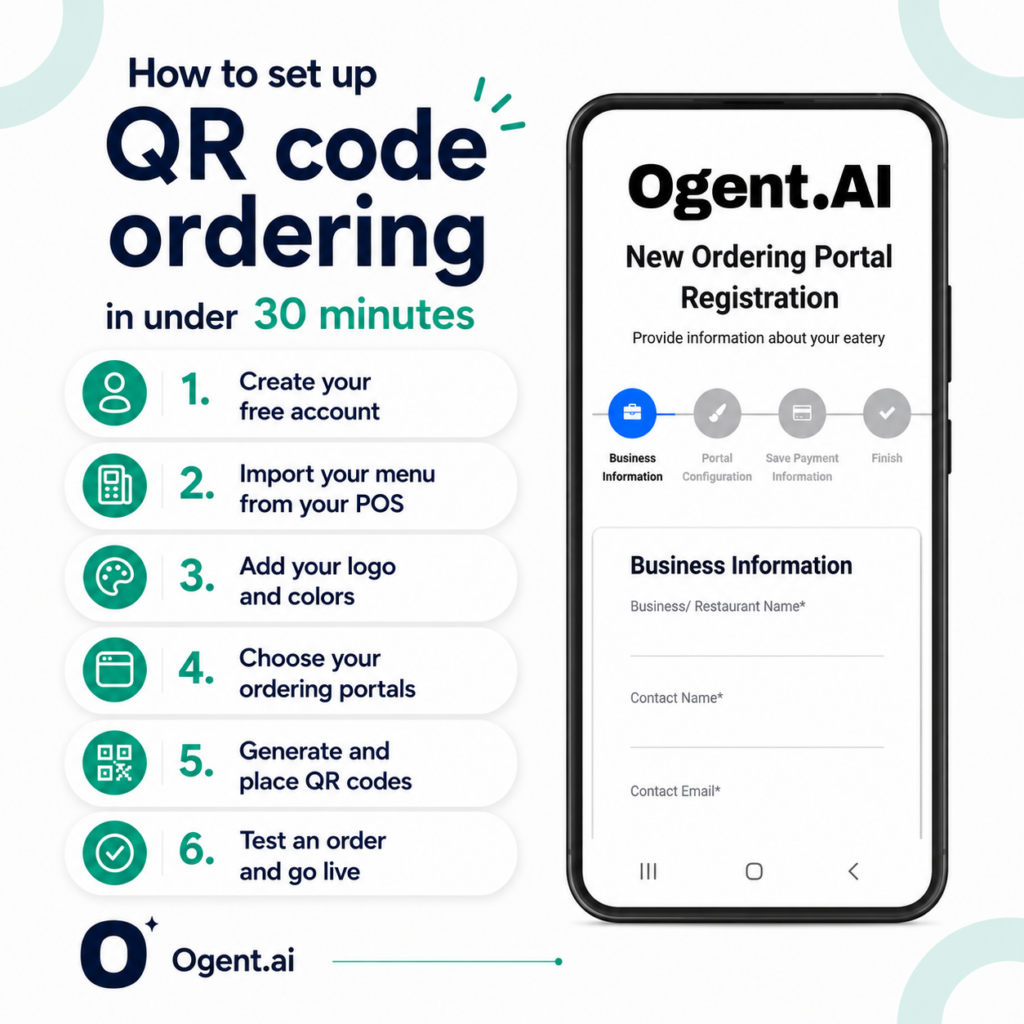
Step 1 – Create Your Free Account
Register your restaurant. No credit card or long-term contract is required. Choose either the pay-as-you-go or fixed monthly plan. This is the first step to set up QR code ordering, and everything after it builds on this account.
Step 2 – Import or Build Your Menu
Import directly from Clover, Square or MicroSale, or upload your menu and build categories, modifiers, photos and upsells. Importing your menu accurately is what makes it easy to set up QR code ordering that guests can use right away.
Step 3 – Customize Your Branding
Upload your logo, colors and social links so guests recognize they are ordering directly from your restaurant.
Step 4 – Choose Your Ordering Portals
Enable QR Ordering, Pickup, Delivery or all three depending on your business.
Step 5 – Generate and Place QR Codes
Print durable QR codes, test every code on iPhone and Android, and place them where guests naturally look.
Step 6 – Connect Delivery & Go Live
Connect delivery providers such as DoorDash and Uber Eats, test kitchen routing, payment methods and place a live order.
Service Model Guide
| Portal | Best For |
| Table QR Ordering | Restaurants, Bars, Breweries |
| Pickup | Quick-service & Takeaway |
| Delivery | Restaurants offering delivery |
| Multiple Portals | Food halls, Golf courses, Stadiums |
First Week Checklist
- Place a test order
- Verify kitchen routing
- Test Apple Pay & Google Pay
- Check Wi-Fi and mobile coverage
- Verify pricing
- Test delivery workflow
FAQ
How long does setup take?
About 30 minutes for most restaurants.
Do guests need an app?
No. They simply scan with their phone camera.
Can I edit my menu later?
Yes, anytime.
Does it work with my POS?
Yes, with Clover, Square and MicroSale.
Can I customize branding?
Yes, including logo, colors and photos.
What if guests need help?
Staff can always assist or take orders traditionally.
Conclusion
You don’t need expensive hardware or weeks of setup to start taking QR code orders. If you already have a menu, you can be accepting orders within about 30 minutes. Create your free Ogent account or book a live demo to get started. Follow the steps above and you can set up QR code ordering today, then refine your menu and branding as you grow.
Ready to start taking QR code orders? Create your free Ogent account and be live in about 30 minutes — no hardware, no contracts, and commission-free direct ordering.